Inspirational paint sticks!


This craft was inspired from a few different craft pins that I saw on Pinterest!

What you'll need: wooden paint sticks, acrylic paint, stencils, thin wire.
(I got all of my supplied from Walmart for under 10$)

I started this project by painting all of the paint sticks a difference color. Using metallic paint I free hand painted the arrows onto the face of the paint sticks. (Alex said the arrows looked like cave drawings) I used the stencils and a black sharpie to write an inspirational word. I chose the word "believe" for the simple fact that it's always good to have small reminders around the house to always believe in yourself! After all of the paint was dry I took thin wire (gold) and wrapped it around the paint sticks to make it into a wall hanging. Pretty cute huh?!


Clothespin Magnets


I love clothespins!
For this craft I bought a pack of 40 clothespins from the Dollar Tree for of course.... 1$!
I bought them not knowing what to use them for but just had to have them. While on Pinterest I found these sweet little magnets made from clothespins! So I decided to try them out.
What you'll need: wooden clothespins, scrapbook paper, mod podge, buttons, hot glue gun, sand paper.
I first measured and cut out the scrapbook paper to fit on top of the clothes pins. Painted a layer of mod podge onto the top of the clothespin to adhere the scrapbook paper. After about 30 minutes I used sand paper to smooth the edges and get rid of excess scrapbook paper. Glued magnets to the back of the clothes pins and there you have it! Super cute clothespin magnates, great for gifts or cluttering up you're own fridge!  


Craft Caddy


Don't throw away those cans! This is a great use of cans that can help you organize your crafting area. 
All you need is cans, scrapbook paper, modpodge and a little help from your husband (in my case anyway) to put this all together.


I started collecting all those can that I would otherwise take to the recycle bin. Picked out some coordinating scrapbook paper and cut to fit the cans. I glued the paper on the cans and coated them with a couple layers of modpodge. (Oh how I love modpodge)


Next came the help of my wonderful husband Bill. I had marked the placement of my smaller cans on this bigger can. So Bill proceeded to drill holes in the big can. Then he took the small ones and held them up to the bigger can and marked where the holes would go and drilled holes in those also.


He took the pop rivot tool and attached the small cans to the larger can. 


And there you have it. My little storage unit for all those small tools we use over and over. I plan on purchasing a small lazy susan to set this on so I can just spin it and really have my tools at my fingertips.

Oh craft Saturday how I love thee!

Coffee Filter Flowers!


Well you gotta love coffee filters!  We saw these on pinterest of course.  First we dyed the filters as we did in our previous post .."Coffee filter weath."
We used 6 filters for each flower. Take 3 filters and fold in half,  and again, and again, and again. When you have it folded take your scissors and cut as we did in the picture. Cut the first three filters a little shorter than the next three.  


Put the 6 filters together with the shorter ones on top of your pile. Fold them in half and scrunch it up a little so when you staple it, it looks somewhat like the picture. Spread the filters out again as much as possible and then this is where the real fun happens. Take the inside filter and pinch it towards the middle. Keep bringing up each filter to the next and scrunch against the filter before.   


When you get all done with all layers you will have what looks like a peony. We attached a wire to our flowers so we could use them in a flower arrangement as you will see in the photos below.

Used a real cool wire to make the stems of these flowers. It is super pliable. Think it adds a really nice touch to the flowers.


These flowers are the ones my mom made. Also note the vase she has them in.  Yep it is the vase from a previous post. "Tin Cans turned vase/storage container."
And the picture of the bride is her mother. Looks really nice together. 


I would have to say it was another successful Craft Saturday with a little twist in that mom and I did the same craft. Super fun to talk off and on all day with the progress of each.
As mom says- Oh Craft Saturday how I love thee!


Plastic bag organizer


This literally took me 10 minutes to make!

What you'll need
  • Empty Clorox container
  • Scrapbook paper
  • Mod podge
First I removed the Clorox label and lid from the container. Measure and cut the scrap book paper to fit the surface.  Painted a thin layer of mod podge on the container and lay the scrap book paper on and smooth it out. Now its time to pack the container with plastic bags and put the lid back on. There you have it, a plastic bag organizer!


Paint Swirl Vase

This is project was cheap, easy and fun!


What you'll need:
-vases (different shapes & sizes)
-paint

This project is very easy, cheap and fast. The first step would be squirting paint into the bottom of the vase. Tip the vase onto its side and begin to turn it to let the paint roll around on the inside of the vase. Repeat this until all of the glass it covered. I used multiple colors to give a cool effect!

Here are a few views of each of my vases I did.


HAPPY SATURDAY!


Tin Can Storage Container/Vase


This is my take on something I saw on pinterst from artsychicksrule.com. I think mine turned out pretty nice. I first started saving all those tin cans we usually throw in the recycle bin, which is a good idea but this is even nicer where as I am making something useful and pretty.

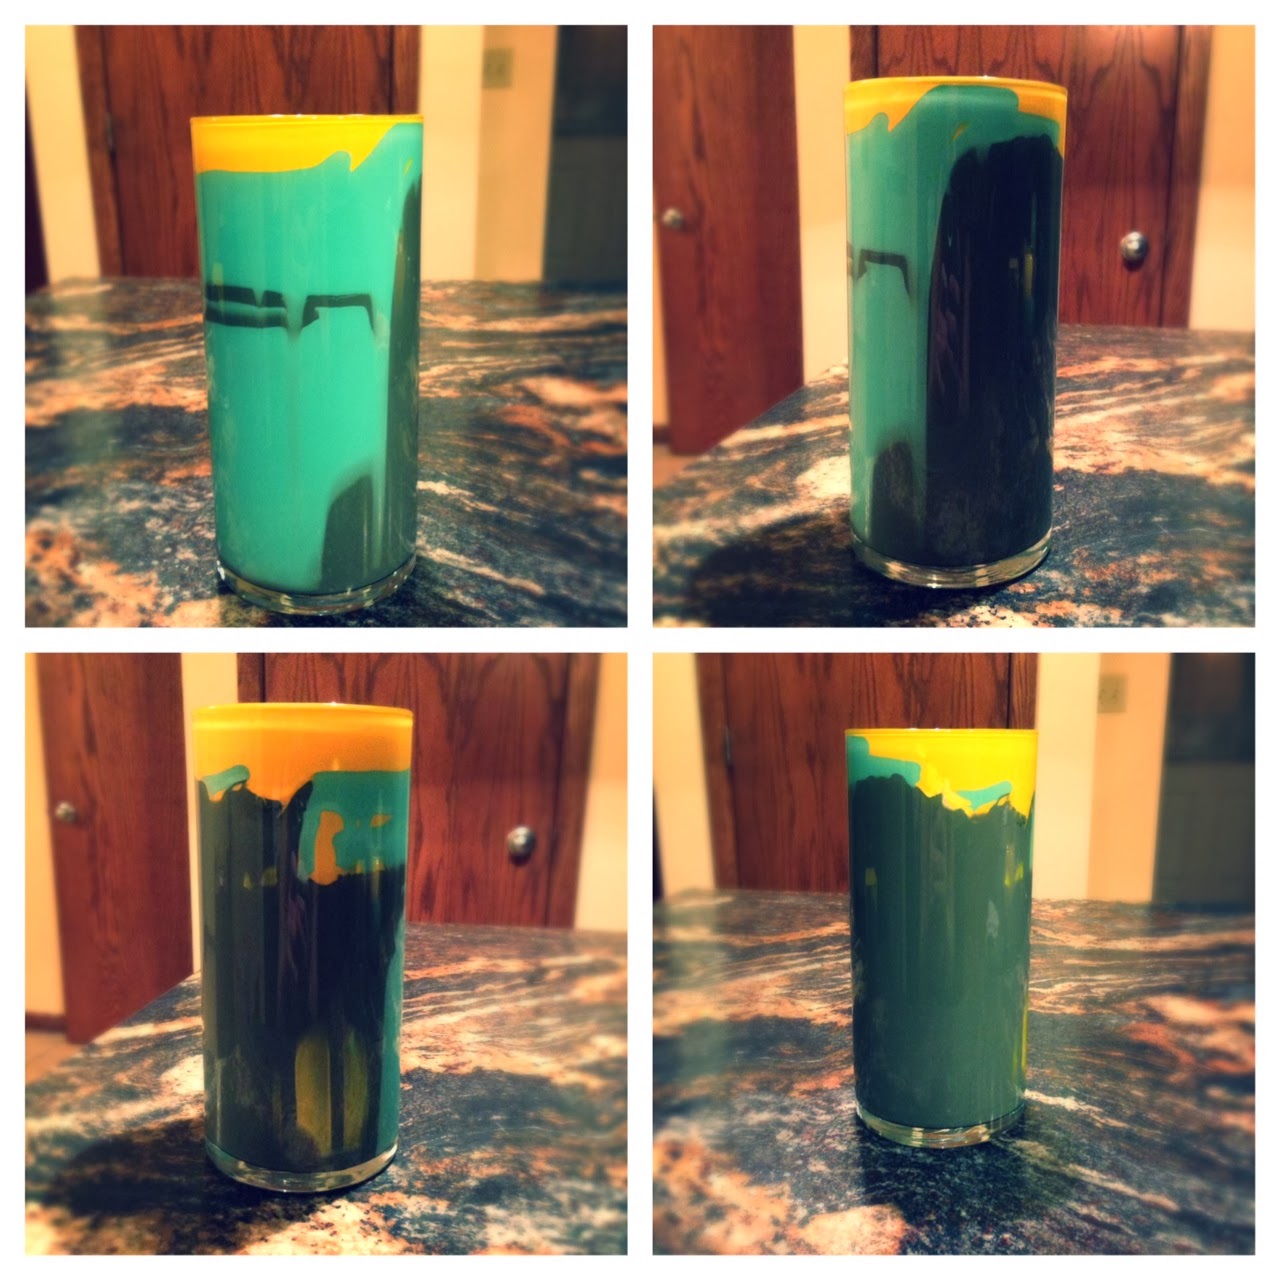
 Once I decided which cans I was going to use I painted the outside of them with a couple coats of craft paint. I just used a couple of colors I had laying around.

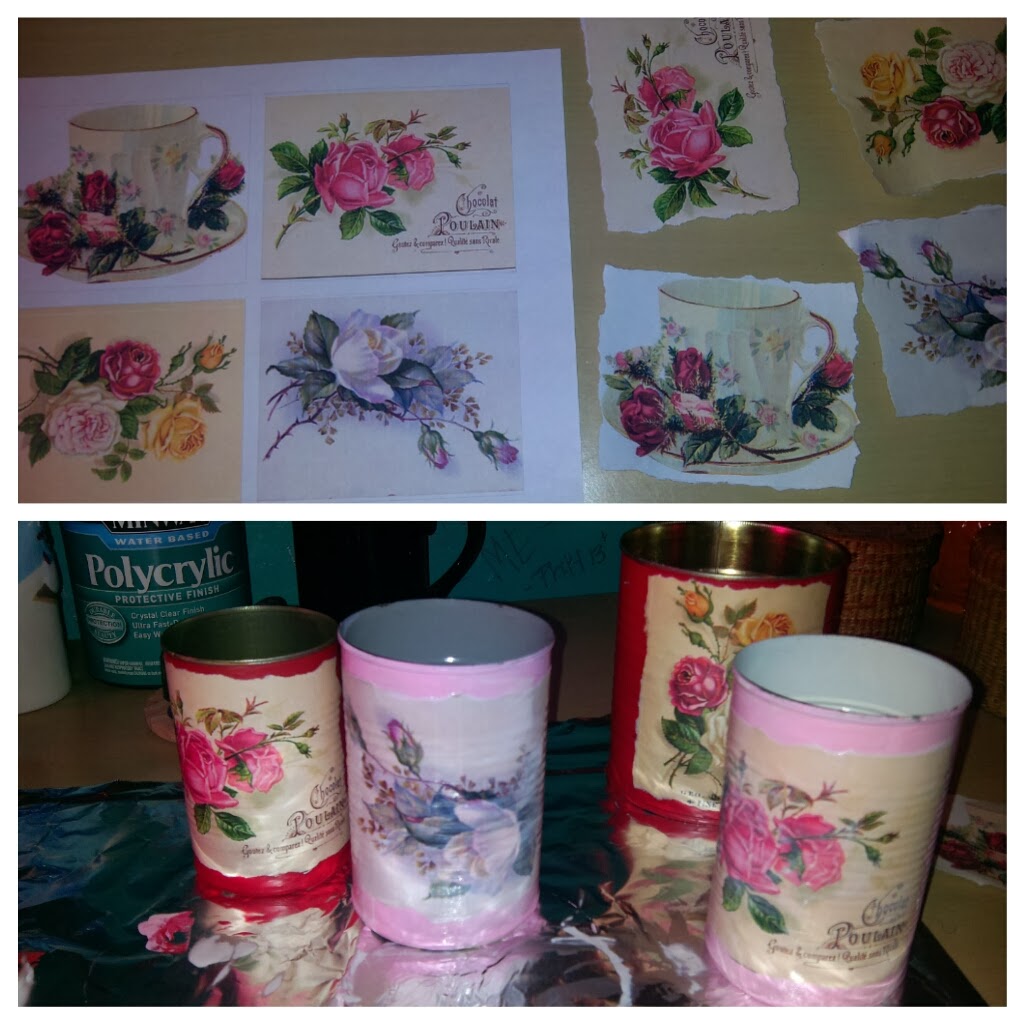
 Then came the fun part, picking the pictures out that I wanted on the front of the can. I went to graphicsfairy.com, they have an array of graphics you can download for free. It is an awesome sight you should check it out.
Ok when I had my pictures printed out I tore them apart. The tearing added to the antique vintage look I was going for.
I glued the pictures on the can by coating the back of the picture with modpodge, attached the pictures to the can and then coated the whole can with modpodge.


To distress them or in other words make them look vintage I used some stain I had and wiped it all over the can then wiped them down. I think you could use craft paint watered down also, but I didn't have any brown so I used what I had. I let that dry for awhile and then I used modpodge again and painted a couple of coats of that all over the can, this will waterproof and protect the outside.


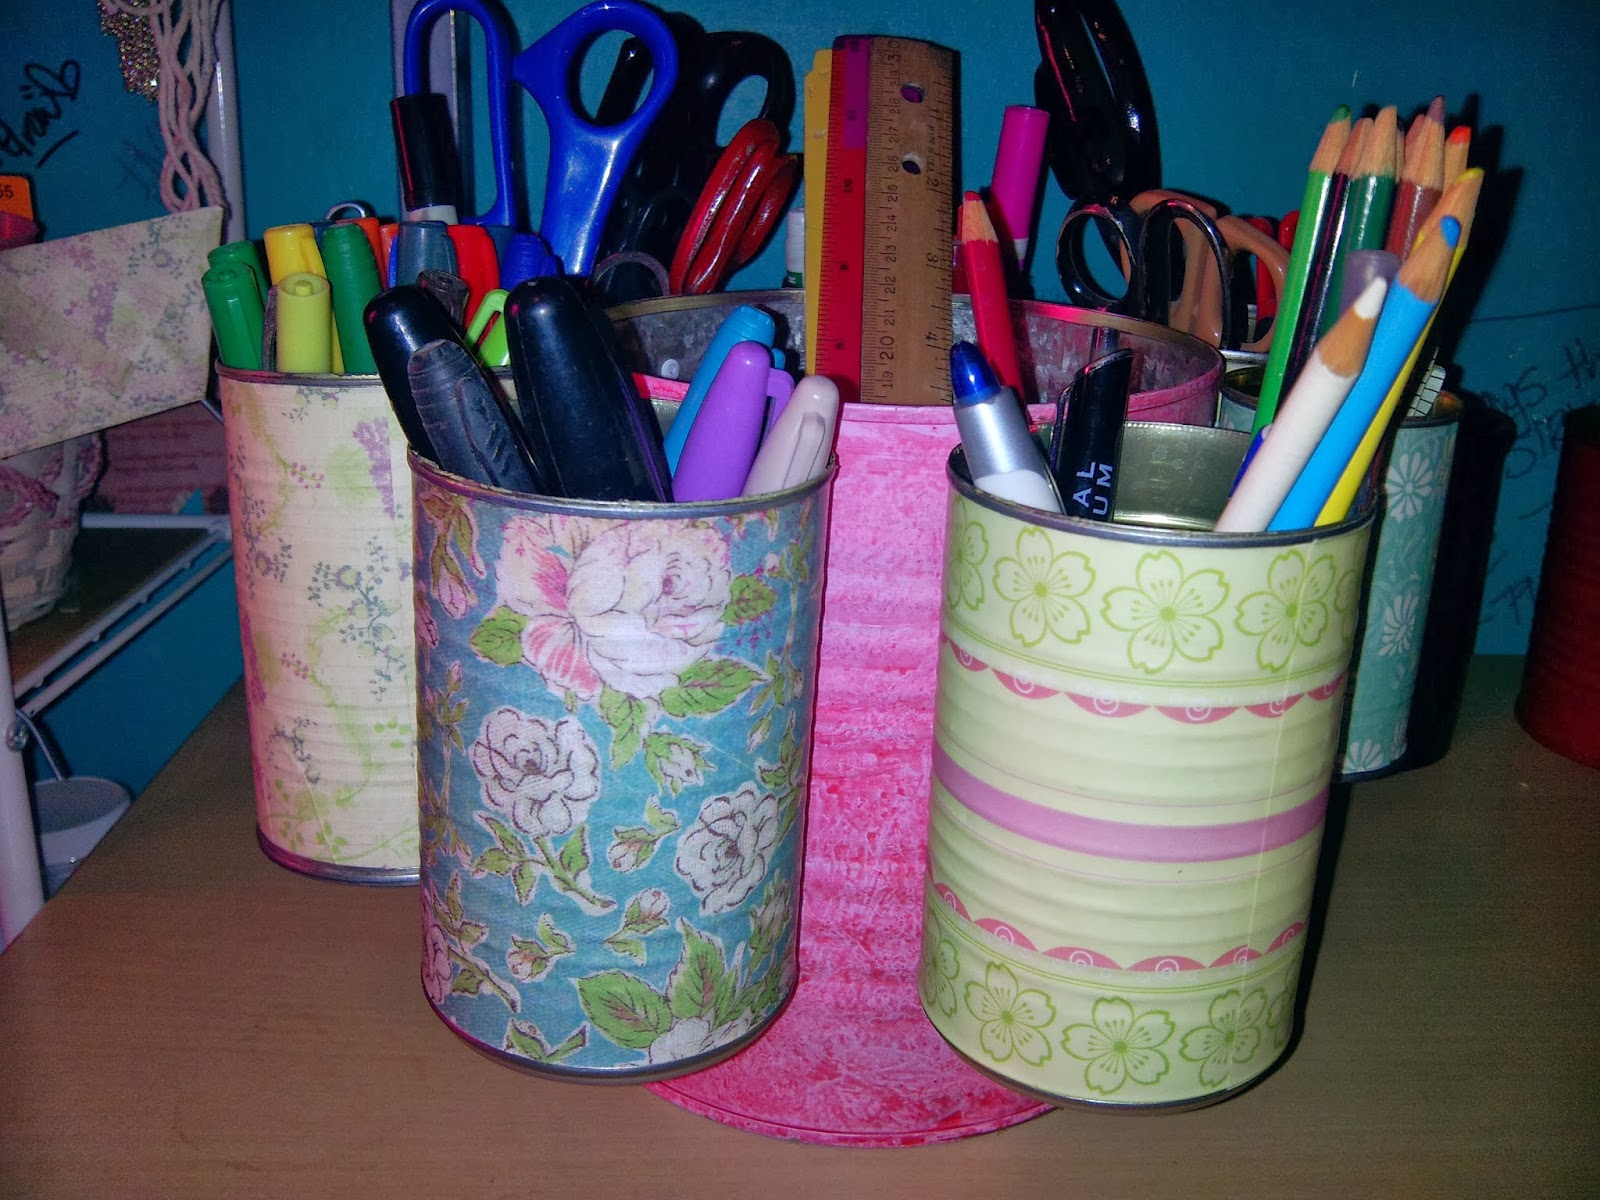
And there you have it! My version of turning tin cans into treasure!


I only wish I had some flowers to put in one to show how nice they look but it is freezing here and probably would not make the trip home from the store.
Oh Craft Saturday how I love thee!